
In BCarm as well as a suite of Checklist Templates all of which are editable, you can also build your own bespoke Checklists.
All Checklists can incorporate:
- Guidance notes and images for those completing the Checklist
- A variety of Response including:
- Text fields
- Date fields
- Yes-No-N/A
- Drop down lists
- Further action can be added at the time of completion and this flows through into the Task Management module
- The Checklist can generate a compliance score based on responses
- The Checklist can also send alerts based on individual question responses or overall performance score
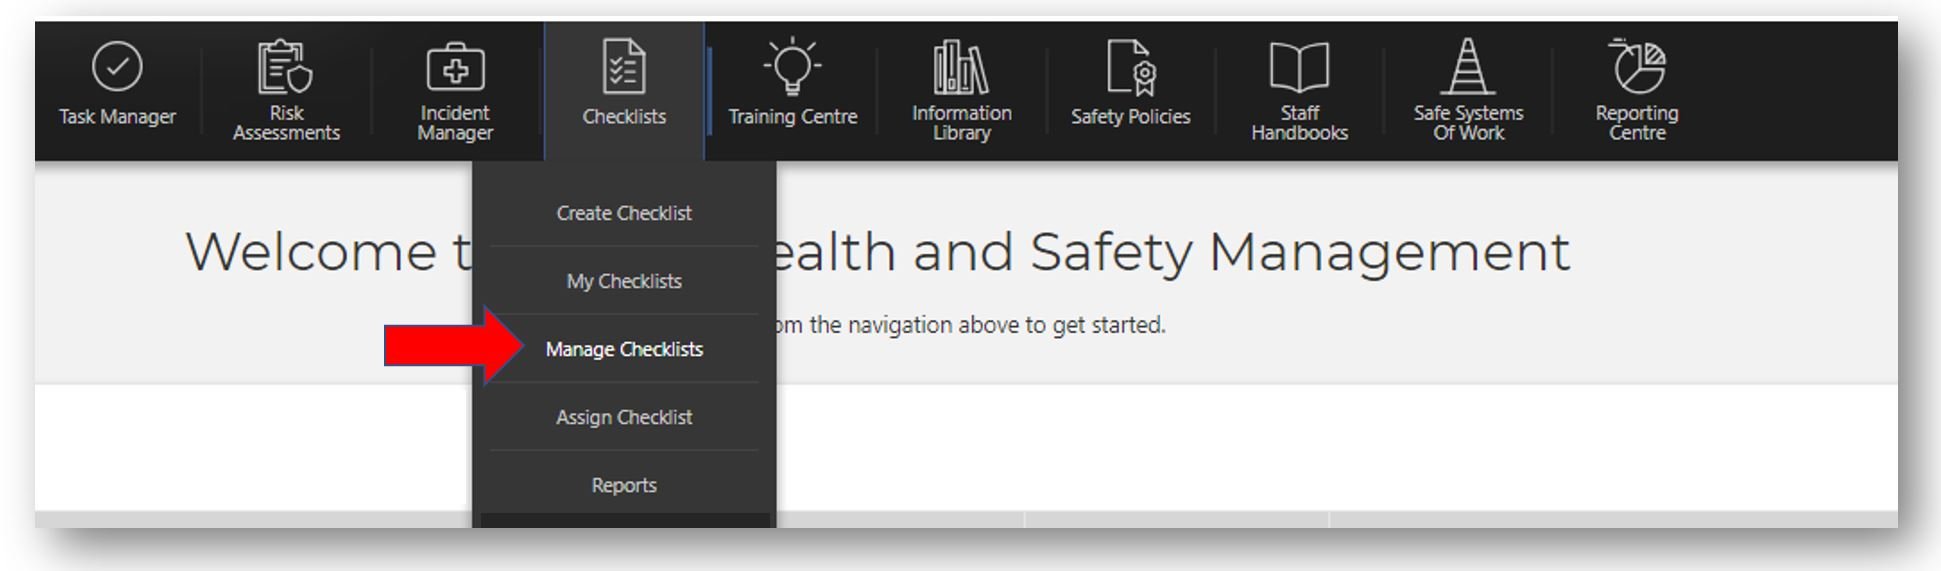
Click the Checklist icon at the top of the screen with the H&S management system.
Select Manage Checklists.
From here you will find a list of your Checklists that have either been published or are a work in progress, you also have the option to create new Checklists. To create a Checklist select Create.
On the next page, enter all the basic details about the Checklist you are about to create, including a Title, and a Reference if you wish to (please note that references are not automatically generated on this module). At the top of this page, you will also find the Enable Further Actions button. If you enable Further Actions, this allows the end user to create tasks, so we suggest that this is always ticked.
Next, fill in the Checklist Type and the Sector. You also have the option to assign the Checklist to a specific Org Group so that only employees in that Org group can access the checklist.
You also have the option to designate who the manager of the checklist is. This can be any user, and doesn’t have to be you. Any manager tasks following completion of the Checklist will be assigned to the person chosen.
Below this, you will find the Checklist Renewal section. Check the box if you want the Checklist to have a renewal schedule, and enter the interval.
In the Email Details section you can also input text that is then emailed to the assignee, accompanying the details of the assigned Checklist.
Once you are happy with all the details on this screen, click the Next Step button.
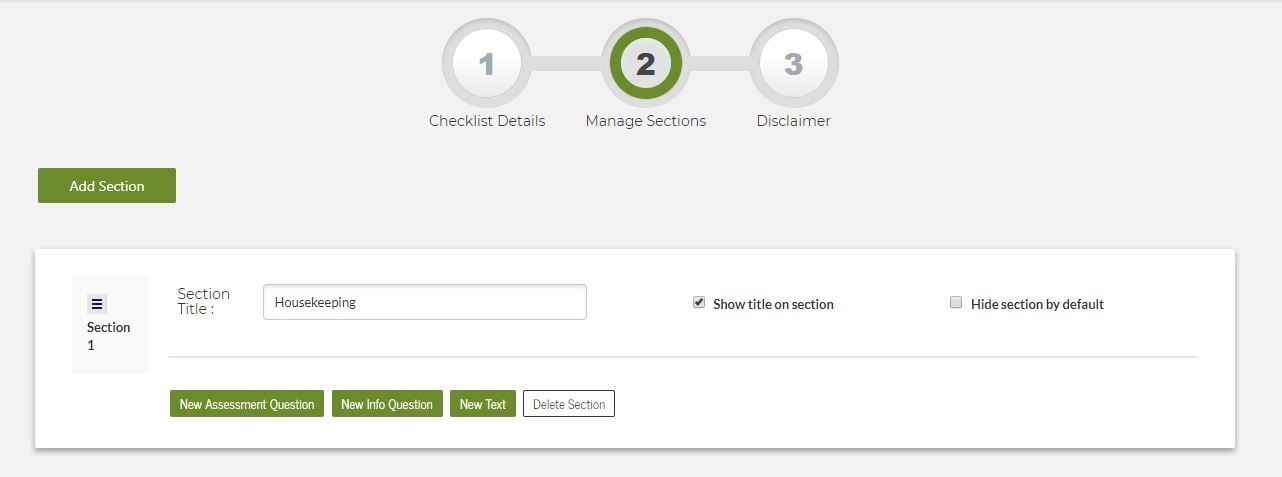
On the next screen, you will create your document in sections. Click the Add Section button to do this.
Each of these sections will appear on a different screen when an employee is progressing through the checklist. If you add a title to an individual section, make sure you click the Save Title button afterwards. If you don’t, the title will not appear on the checklist.
In your checklist, you can add:
- Assessment Question – This type of question is for assessing, and can be scored. Is your computer at a suitable distance? for instance, is an example of an Assessment Question.
- Info Question – This type of question is used for gathering information and is unable to be scored. Questions such as What is your name and Where do you live? are examples of these.
- Text – As well as standard questions, you can also add text of your choice. This is usually used to inform a user if they need to skip a question. An example of this would be "If you have answered 'no' to the previous question, answer N/A on question 4 and move on to question 5." Alternatively, text can also be used as information prior to a section.
At the bottom of each question type, you will find the option to upload images, as well as check boxes to allow users to add additional comments or attachments against the question you are adding.
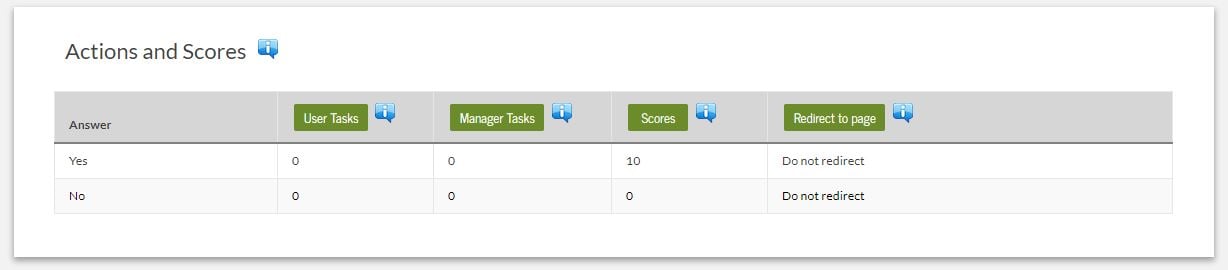
You can also choose to create User Tasks and/or Manager Tasks, which are dependent on the question response. You can dictate the Score that is awarded for each answer given, and set up redirects to alternate questions (An example of this would be a question that takes you to Question 2 if answered ‘Yes’, and Question 3 if answered ‘No’).
If you would like to attach scores to answer options you are able to do so by selecting the type of answer via the Type of answer selection box when creating a question. You can select from Radio buttons, drop down lists and also check boxes and define your own option lists and then attach scores to those answer options. In the screenshot below, a score of 10 is attached for a positive answer and zero for a negative, undesirable answer. You can name and save your answer options to be used again in future checklists.
Once you are happy with your Checklist questions, scroll to the bottom of the Checklist creator, and click Go to Disclaimer (Note that you are still able to go back if you have forgotten anything).
On the next page, don’t forget to click Accept Terms, to accept that you are responsible for the Checklist content. Then, you have the option to click Save as Work In Progress if you need to leave your work station for any length of time. Or, when you are happy with your Checklist, click Publish.